Paper crafting is popular at present, utilising factory produced components. Here’s a way to make your own original three dimensional paper bas reliefs that you can attach to greetings cards, use to decorate boxes and make lovely gift pictures. Once you have made a few I’m sure you will think of many uses for these low cost, dimensional decorations, which are easy to produce in quantity.
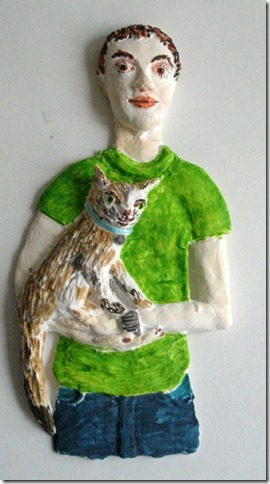
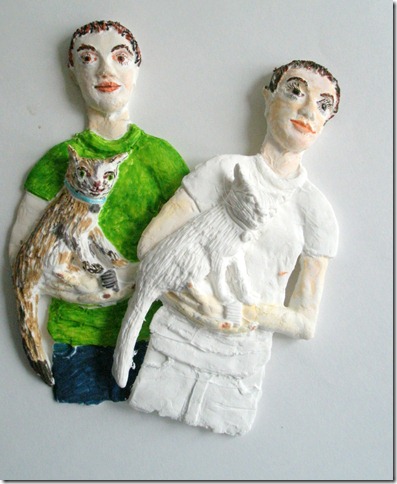
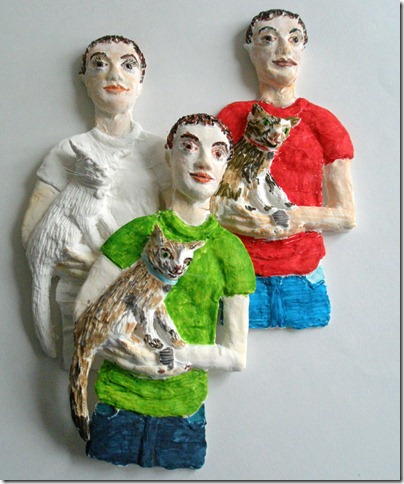
I am always amused by the way my son makes a cradle of his arms for the cat to stand on, they walk around like this, I don’t know whether it’s him being patient or her being independent, a bit of both, I suspect.
This technique uses materials only suitable for adults. The materials can cause skin irritation in some people, please adhere to the manufacturers instructions and follow safety procedures and common sense. JaneLaverick.com cannot be held responsible for anything daft you do in your own home, so please be sensible. Covering your dining table with a nice thick layer of newspaper before you get busy is a good start. (Although mine is beyond all help.)
You will need:
Milliput two part epoxy putty, see where to get it here www.milliput.com
Two part silicone putty for mould making. There are various versions of this with different curing times, those advertised for children usually cure more slowly. I used the dental kind, which is cheaper but only takes three minutes to cure. Various brands can be found on Amazon and in different countries with a search engine. This is the stuff used to make silicone moulds for cake decorators. Broadly speaking, if you live in a country with cake or dentists, you should find it online.
Offcuts of cardboard or matboard, picture framers sell the ‘middles’ of mounting board quite cheaply.
Modelling tools for shaping your sculpture. I use dental tools, cocktail sticks, paintbrush handles and, always, disposable scalpels, though this might be just me. Warning: scalpels are designed to cut skin and do it very easily.
A small amount of water (for smoothing the Milliput).
Paper clay. This is a smooth white substance which dries in the air in a few hours. I am using a Japanese brand currently. You will find this in most art and craft shops and online quite easily. Most brands are suitable for use by children, so you could get children involved in the later stages, after you have made and cured the moulds. As always follow the manufacturer’s instructions.
Step 1. Make the Milliput sculpture.
First find your inspiration, I couldn’t model anything without a picture to follow. I’ll describe later how to use one of your own. You could also do a simplified drawing, if you were going to produce a stylised flower, for example. Your sculpture doesn’t have to be realistic, it could be cartoony, exaggerated or even a freeform piece of modern art.
From the two sticks of Milliput in the pack take small equal amounts (about half an inch of each is more than enough to begin with). Mix them in your hands until they are uniformly coloured and streak free. At this stage I wear disposable plastic gloves because I am allergic to assorted substances. I take the gloves off to model.
Put the mixed lump on to the cardboard and by prodding, stroking and poking, model what you want to model. Dipping your modelling tool in the water will help to smooth the Milliput. If you are making an abstract sculpture you could give it texture by pressing in assorted things; for example the end of a ball point pen pressed repeatedly in a line will give you a line of rivets if you were modelling a robot. You will find that the Milliput sticks to the cardboard all by itself.
It is helpful to have some idea of your use for the finished item. If you are making a paper relief to stick to a greetings card you will not want to make it stand so high from the paper that you cannot get it into the envelope.
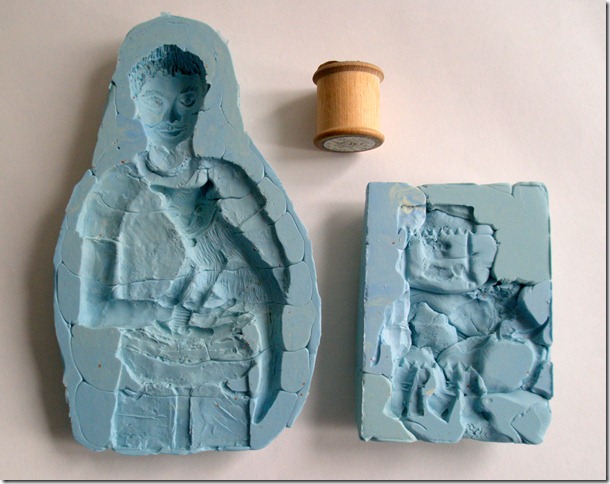
In the relief of my son, I have made his body quite flat but his head and the cat are raised. Try not to make too many undercuts. In modelling an undercut would be, for example, a very hooked nose that would lock in a mould and pull off each time you removed the mould. You can, however, take more liberties with silicone than you could with a plaster mould. The mould will bend enough to take the head of the cat out of it. Moreover, paper clay is very malleable and can be restuck and remoulded when wet. So don’t worry too much about the mould to begin with, just make a model that you like and when it is finished leave it for three hours to cure.
Milliput is very helpful, after it has cured you can carve it and sand it. If you have little mixed up bits left over it will take a few months of modelling to convince you to throw them away, if you are as mean with materials as I am, but that’s what you have to do.
Step 2. Make the silicone mould.
When the Milliput model is solid you can begin on the silicone mould. Most moulds require some sort of release agent to free the model but this is not necessary with most brands of silicone and Milliput. Be guided by the manufacturer’s instructions. There are several types of silicone mould putty. All that I have found consist of two sticks or tubes of material that have to be mixed in equal parts by volume, just like the Milliput. What varies is the curing time. The children’s version of this, which is usually sold in tiny portions for a lot of money can take half an hour to cure but by volume is considerably more expensive than the variety sold for dental work. I remember when I was having moulds of my teeth taken for my dental implants. The dentist mixed up the blue gunk and shoved it in my gob, whereupon we both stayed motionless for several aeons while the stuff cured. In my head calendar paged flipped off, movies finished, popcorn was purchased and consumed, clouds rolled by, babies were born and entire, quite large, fields were harvested while we waited. Then he ripped it untimely from my virgin teeth, taking my soul with it but leaving endless blue strings to be picked out for hours later.
It felt like.
But wait till you get the wretched stuff mixed up in your hands.
It will go off before you have time to breathe.
I strongly suggest you buy one of the little hobby model type packs with a long curing time before you invest in the massive dental tub that goes off between one inhalation and the next.
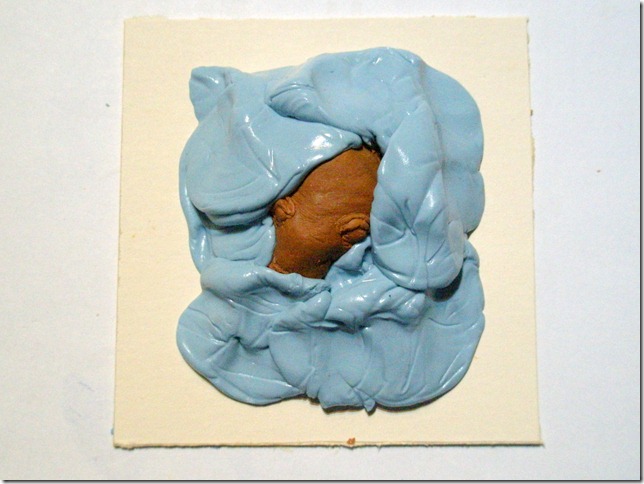
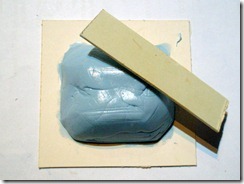
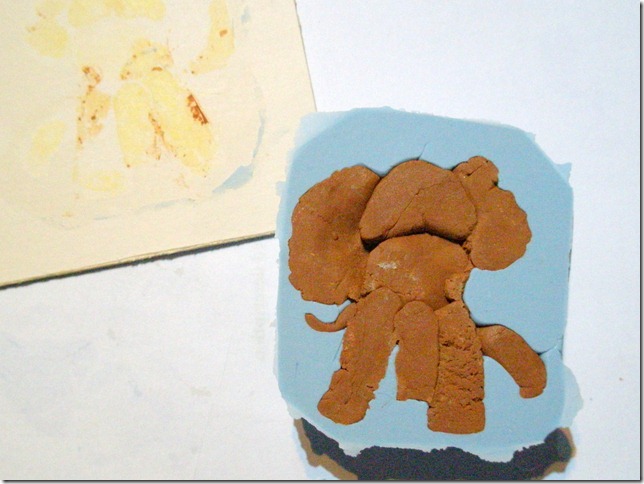
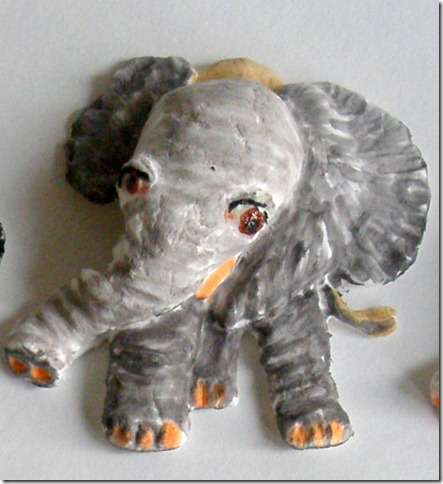
Having messed around with the play stuff and graduated I found the way to proceed with the fast cure is to mix up from each colour compound no more than a sprout-sized piece, at a time. I didn’t wear gloves and had no problem. As soon as the colours are uniformally mixed, press the mixed ball well down on to the model, mix the next small ball and snuggle it up to the first and so on, covering the model as you go. Here is my baby elephant disappearing.
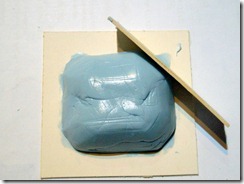
The last lump needs to form a flat base so that, when the mould is inverted, you can put it flat on the table to press the paper clay into it.
I did the job with an offcut of cardboard.
Although I knew it was cured after three minutes, I still went away and had a cup of tea. Going away and having a cup of tea is absolutely essential for all art at some point. It also ensures you don’t die of dehydration if you get very absorbed later.
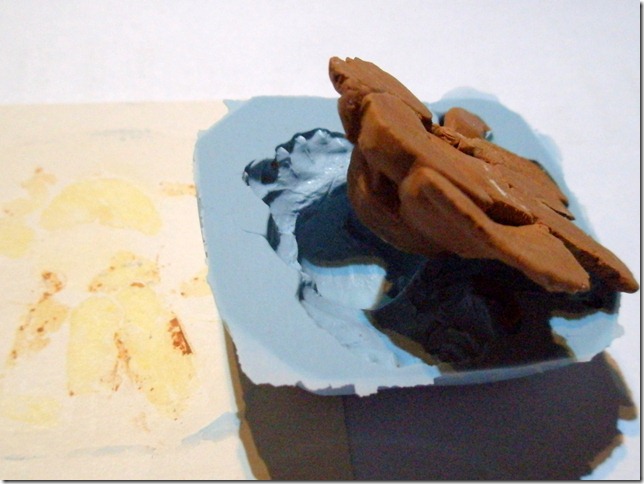
After the length of time specified on your pack, or, after several cups of tea, whichever is longer, you will be delighted to find that the silicone mould peels off the model easily.
First remove the card backing, then just ease the model out of the mould as slowly and gently as you can.
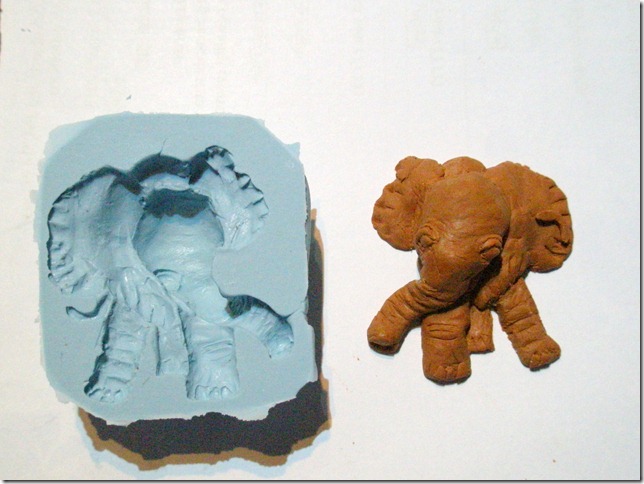
And now you have a Milliput model turned into a silicone mould that will allow you to reproduce your work of art as often as you like.
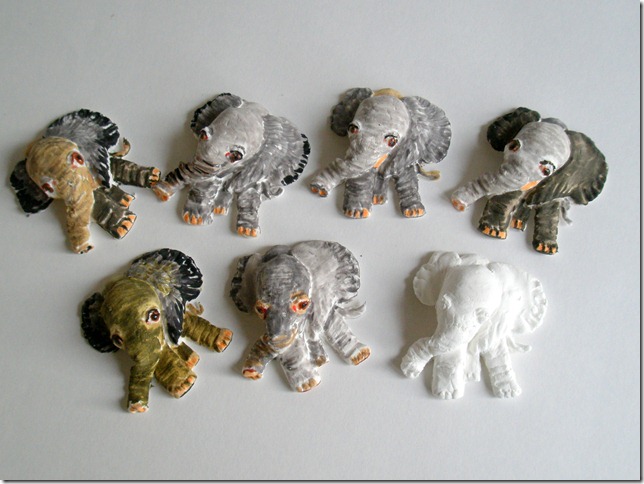
Look! A herd of elephants!
Step 3. Make the paper sculpture.
The paper clay bit is ludicrously simple. You simply tear bits of paper clay off the pack and shove them in the hole. Keep shoving until the mould is full to the top, smooth off so you’ll have a flat base and then ease the paper shape out of the mould. Lay it flat on an offcut of card to dry, which will take a couple of hours. In the course of this you will find the card absorbs the water a bit and warps. I left mine on a radiator and then dried the next sculpture on the other side.
If your sculpture has demoulded a bit wonky, straighten it up as soon as you’ve got it out of the mould, You can also correct mistakes with your modelling tool while it’s still wet and add in gaps or bits that didn’t get filled up in the mould. The demoulded bit of art is only the start. As the model is now made of paper, once it has dried you can colour it by any method you would use to colour paper, and attach it to surfaces with appropriate glue.
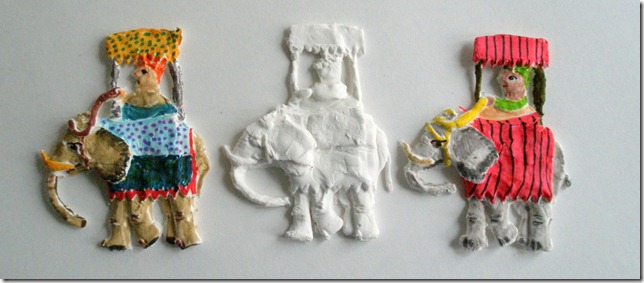
I also modelled some funny elephants (because I was having an elephant phase) which are much flatter than the baby elephant.
One of the best things you can do with this technique is to make your own photographs come to life.
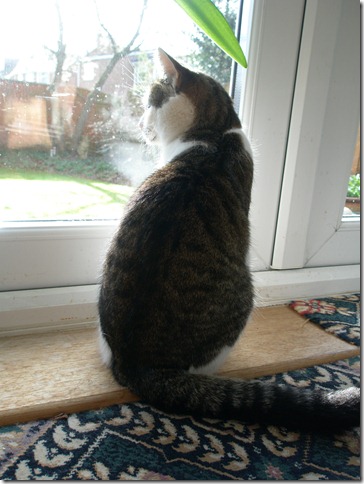
For the relief of my son holding his cat I used a photograph that I liked and printed off from my computer. If you are really rubbish at modelling print two; one to copy and one to fasten to the cardboard and model right on top of. Look for simple shapes to begin with. Here for example is a cat looking out of a window
she really is quite a simple shape and there’s not much face (which is the difficult bit.) Having made the mould
of any size but not very deep I could stick the finished, coloured model to a print off of the photograph and thus not even have to draw or paint a background.
Do please respect copyright. Any made shape is copyrighted and you infringe the law by taking a mould from a shape someone else has made. Also the same applies to printed images if you were to use a copyrighted picture behind your model. One of the problems I’ve found over the years of interviewing artists is that people do have difficulties getting started with modelling. By using your own picture or drawing as your inspiration to model directly on top of, if necessary, you avoid all the copyright pitfalls. Also, whatever you make by this method will be your own original art. It doesn’t have to be photographically perfect because it’s your very own interpretation of the world.
Have you got a child, or a cat, or a flower you would like to turn into a paper sculpture?
Have a go – you’ll find the result, whatever it is, is art.
~~~~~~~~~~~~~~~~~~~~~~~~~~~~~~~~~~~~~~~~~~~~~~~~~~~~~~~
JaneLaverick.com – art for everyone.

One Response to Paper sculptures to make.