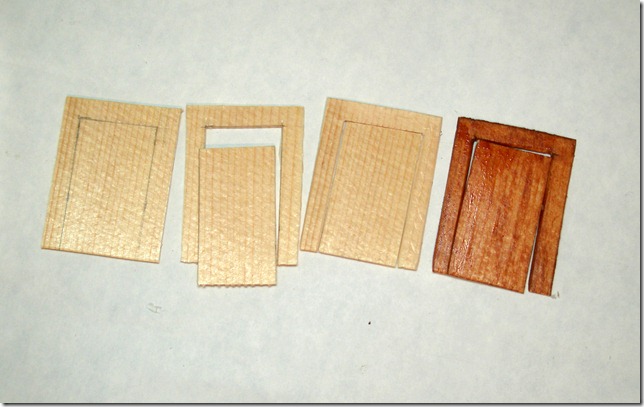
To finish the downstairs room we need to add the door. The doors that I showed you last time
as well as being cut and removed from the architrave have been slightly sanded with an emery board to give a little shape to the surround. If you look at an internal door you’ll see it is not as thick in profile as the wall. To simulate this we need to cut a recess for the door to sit in. In board this is easy.
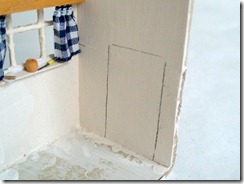
Mark the location of the door on the inside of the box
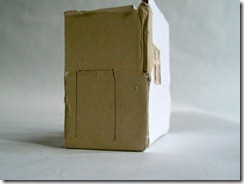
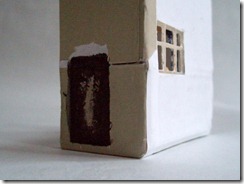
and the outside. Excavation is merely a matter of running a scalpel round, getting the point of it under a corner and peeling off the layers. This is a very soothing activity, akin to peeling the glue off your fingers late at night when anyone sensible would be in bed.
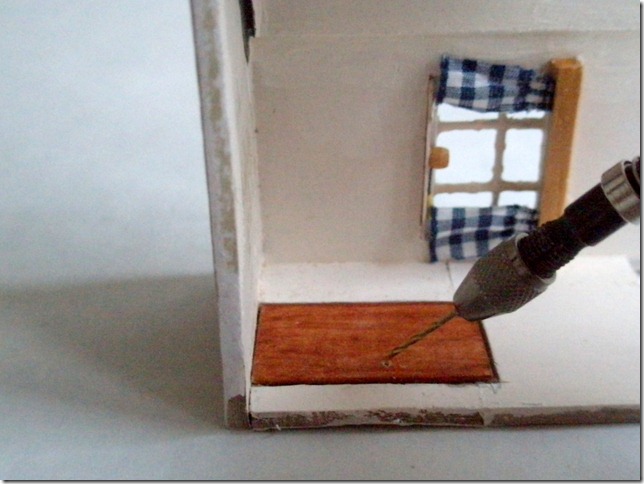
Having peeled, locate the door on both sides and drill a hole through both doors and the inner board layer. I’m using a small Archimedean drill but there is nothing tough here; a needle tool or piercing tool and patience would also work.
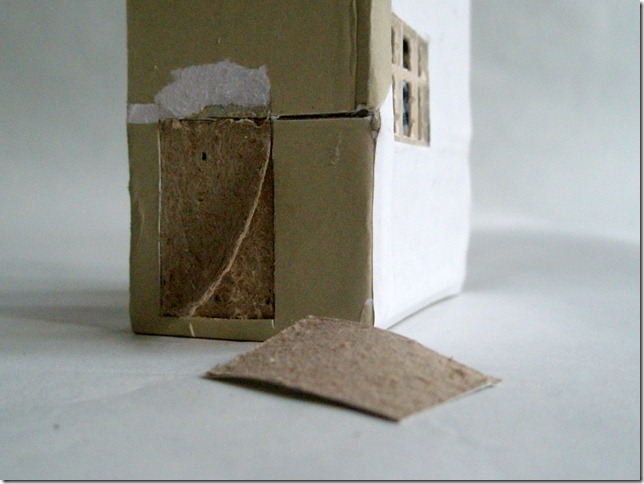
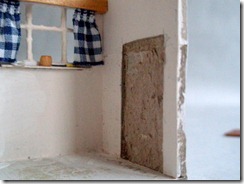
Make sure there is enough depth in the recess to accommodate the thickness of the wood,
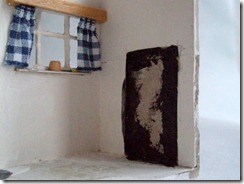
paint around the edges so the cardboard doesn’t give the game away.
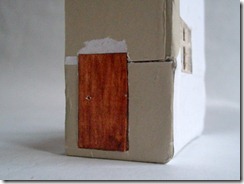
Then stick the door in the hole and the surround around. I also made a handle from wire and a bead and skirting boards from cardboard strips.
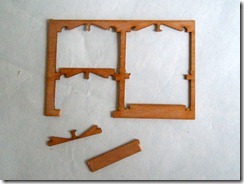
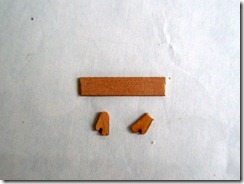
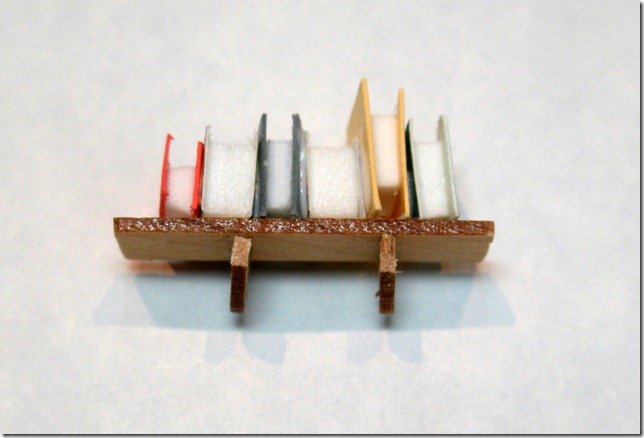
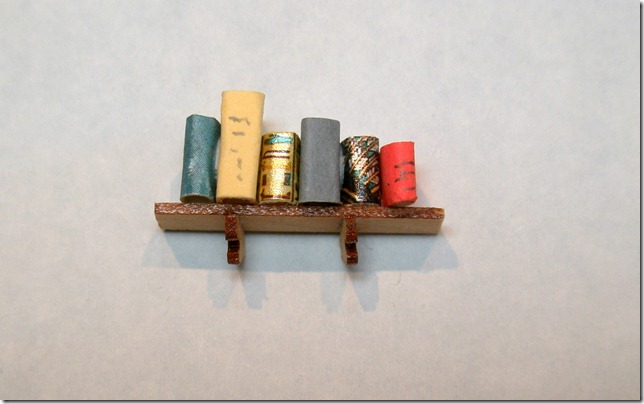
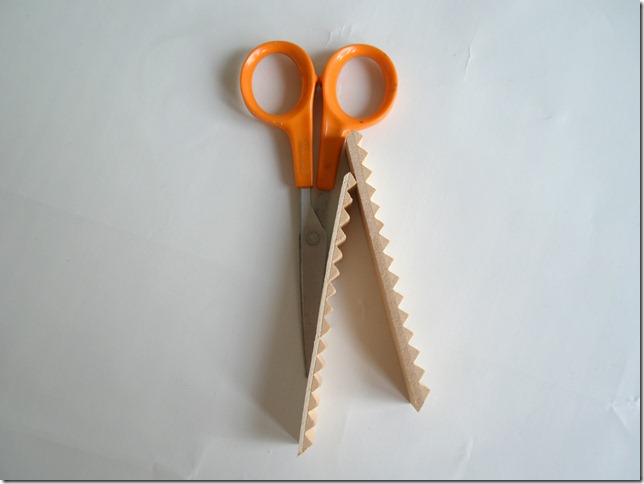
I turned my attention to fixtures and fittings on the walls. I made a wall shelf full of books using offcuts from the furniture kits again. I identified brackets and the shelf, cut them out with scissors and sanded them.
The books piled on top of the court cupboard have paper pages because I wanted them to lie floppily on the top of the cupboard. I want the books on the shelf to stand up, so the insides are made from paper crafting foam squares, (which are self adhesive) wrapped round with thin card. I’ve made sure all the backs are aligned
so I’ll be able to stick the books to the wall as well as the shelf.
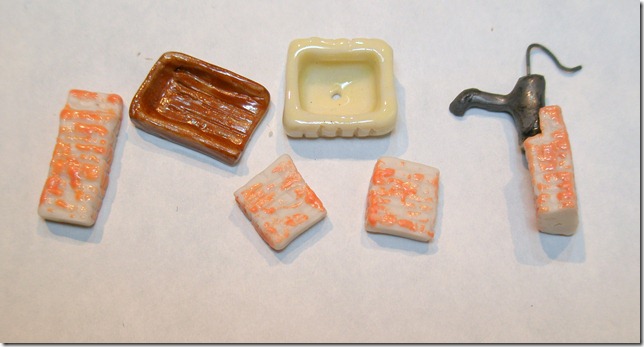
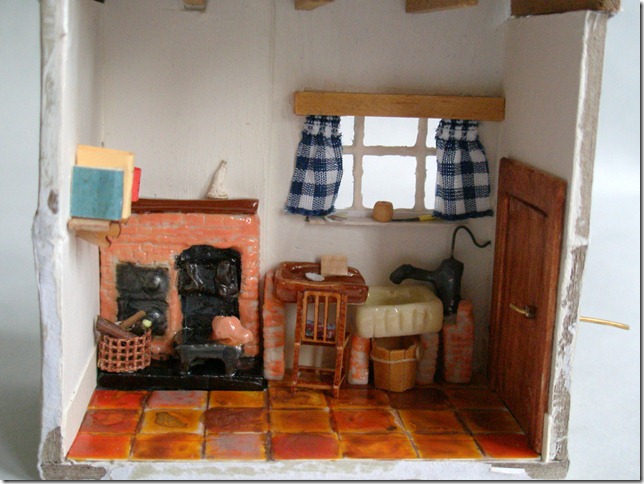
Now I can start to fill up the inside. I’ve made several choices of sink ranging from a pottery sink on brick pillars and a wall tap, to a set of pillars that also supports a pump and a wooden draining board. Here I’m using the set with the pump.
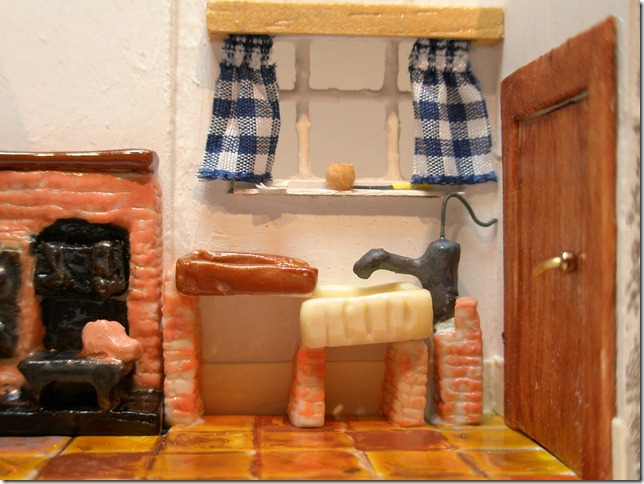
This configuration was typical from the 18th century onward, right through the Victorian era. Turning taps, or faucets, only became common after the First World War and, even then, sinks mostly still rested on whitewashed brick pillars. In houses without mains drainage, the sink drained, via a bung, into a bucket. So I’ll glue the sink assembly into place
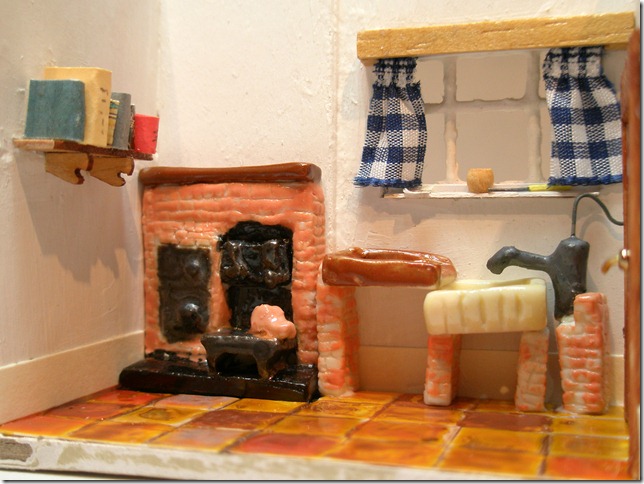
and also the wall shelf
It’s beginning to look like home!
As I’m going to glue everything into place I need to work from the back forwards, so I’ll add the bucket, a chair and the log basket. I’ve made a candlestick of painted thread sitting on a paper hole from a hole punch and stuck it to the mantelpiece. To the draining board I’ve added a wooden chopping board and a bowl, which is a shape hole punched from a sequin.
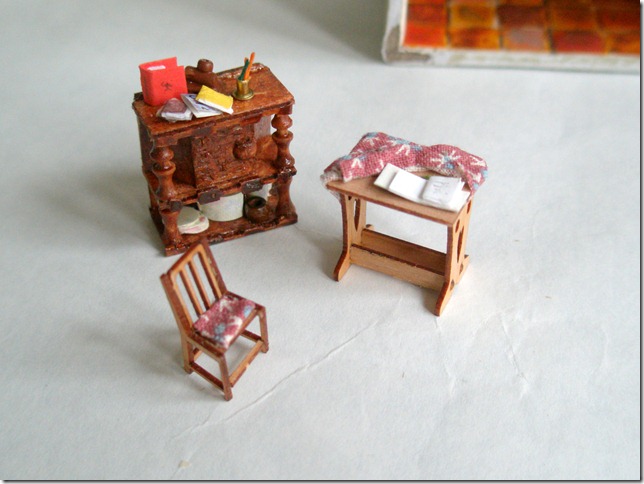
Before gluing it in place I’ve finished the furniture.
I have added some spills to the spill jar on the cupboard. The jar is a miniature eyelet, the spills are button hole thread. The cushion on the chair is glued fabric as is the pushed-back tablecloth. The book is as before, the pencil is a tiny twig from the garden, sharpened at one end and painted black.
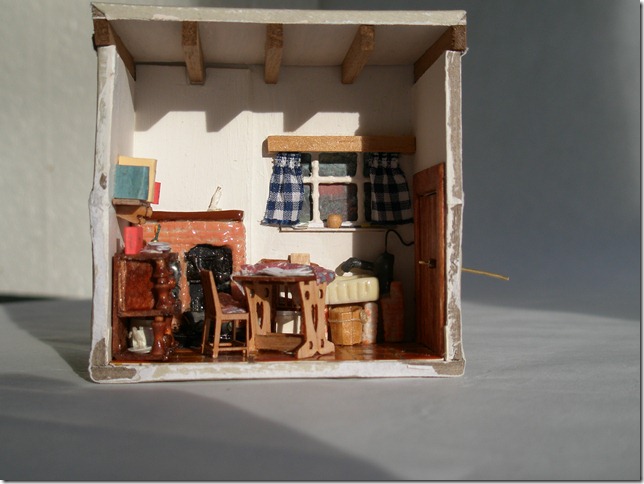
All I have to do now is glue the furniture into the room and let the sunshine in!
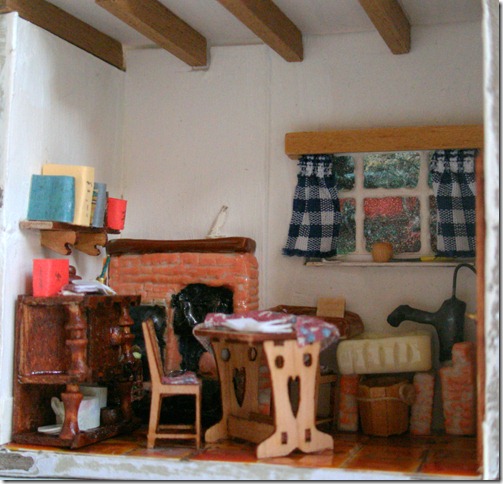
If we get right inside there’s enough detail to help us suspend disbelief for a while.
I feel as if I could sit down at that table and write a book. I could pump out some water and fill up the pot on the hearth, get a cup from the cupboard and brew a cuppa and finally light the candle and go upstairs to bed.
Except that I haven’t installed the stairs yet. Though I will do so soon. Here they are.
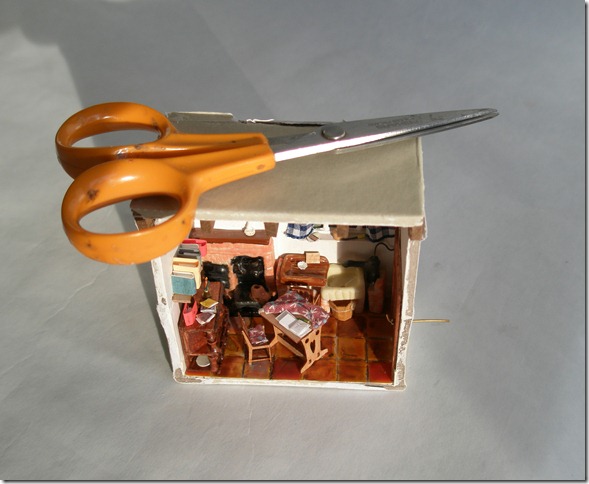
And I couldn’t really live in this room – it’s only this big!
JaneLaverick.com – scientia in pyxis.

One Response to Configure a dolls’ house 5