This time we’re on the up!
Up the stairs, up the rooms and probably up the walls as well.
Staring you in the face.
There are many ways of making stairs. In small scales house designers often don’t bother with stairs. What are the dolls supposed to do? Fly?
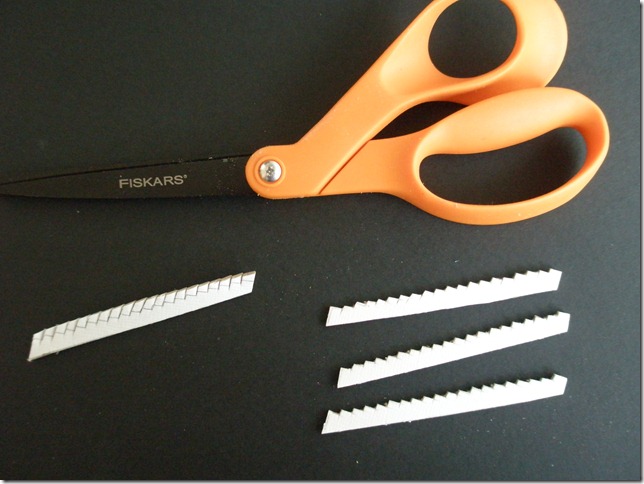
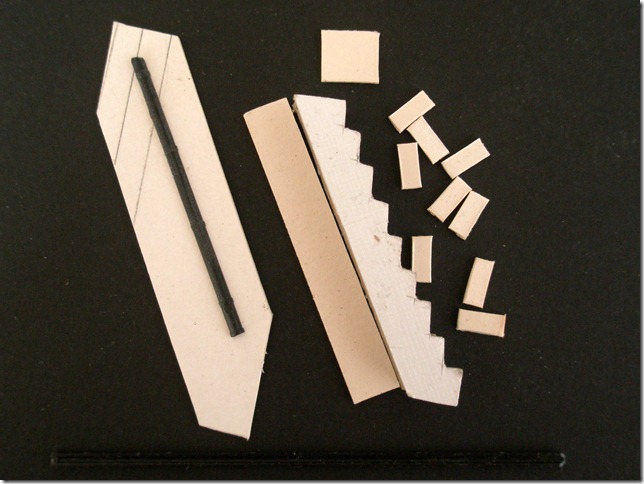
I am going to add stairs to this house by one method; as this series proceeds, I’ll introduce you to other methods. Stair kits are available to buy and I did use the profile of one as a template to cut a mat board version.
Whilst this is the method I’ll use it won’t be with this template. As I mentioned before, as you go down scale, slight errors are magnified. This set of card stairs glued together and tried against a corner wall mock up looked ridiculous. There were too many stairs and they were too small.
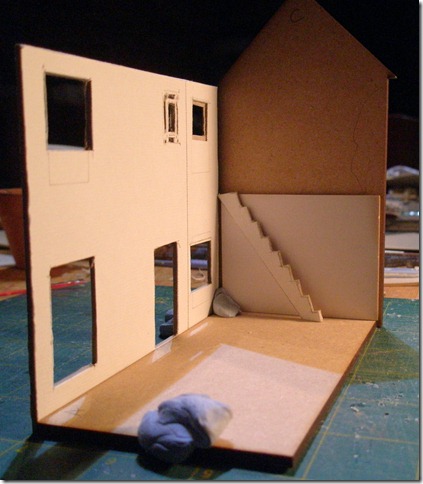
If I measure my real stairs each tread is 3 feet wide, 9 inches front to back and the rise is 7 inches. In 48th scale this would be 3/4 of an inch wide, 3/16 front to back and 1/8 of an inch riser. Using this only as a basis, I fiddled around with some mock ups tried against an inside corner with the house stuck together with sticky tape and Blu tack lumps. This looks about right to me for the effect I want of a narrow steep staircase.
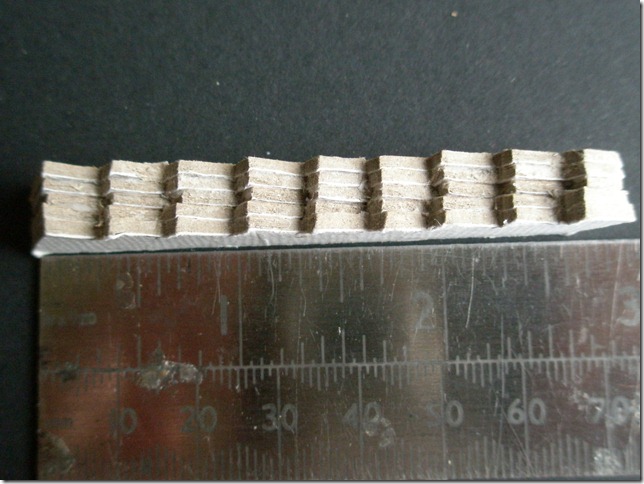
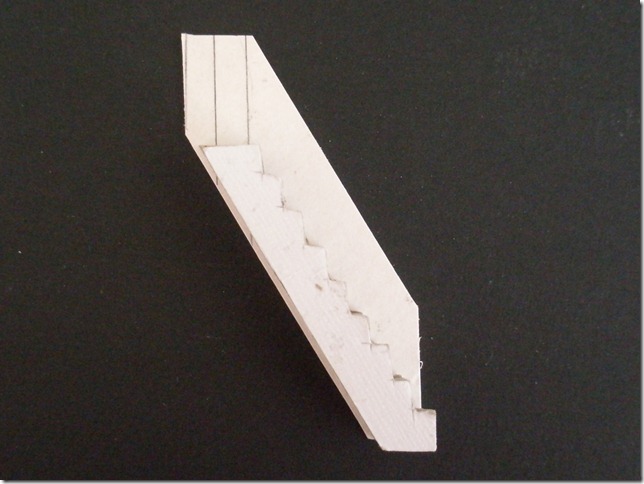
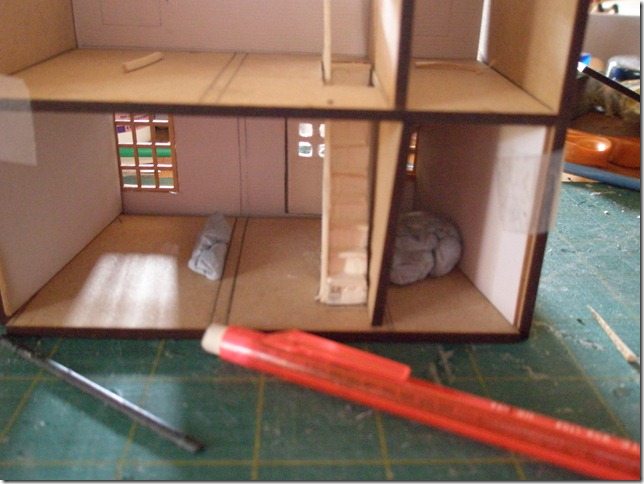
It occupies a suitable amount of floor space but leaves room for a door into the kitchen underneath at the back. In smaller scales looks are everything and one of the great advantages of going down scale is that you can try out architectural alterations with pieces of thin card that are cuttable with scissors. Once you have glued the right number of pieces of card stair shapes together to reach the width you want,
you need to file them with a square needle file, or a strong emery board to square them up. They don’t need to be perfect, just fairly uniform.
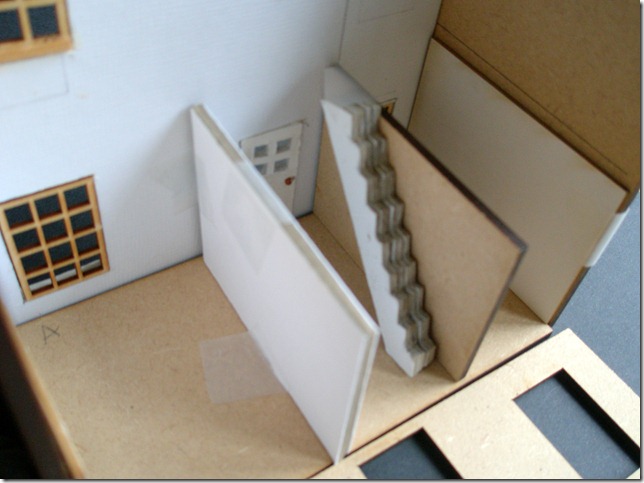
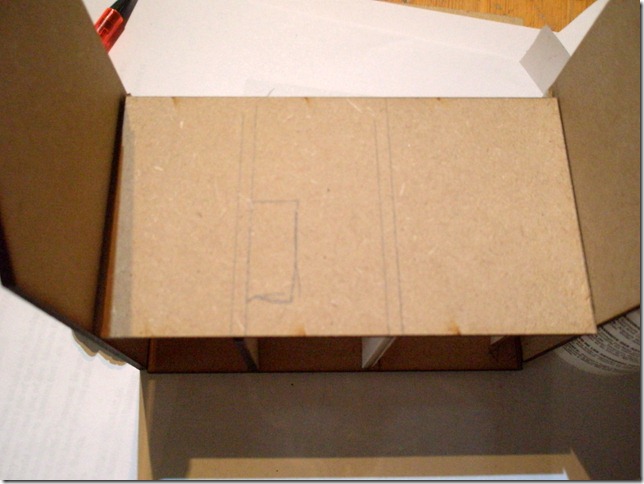
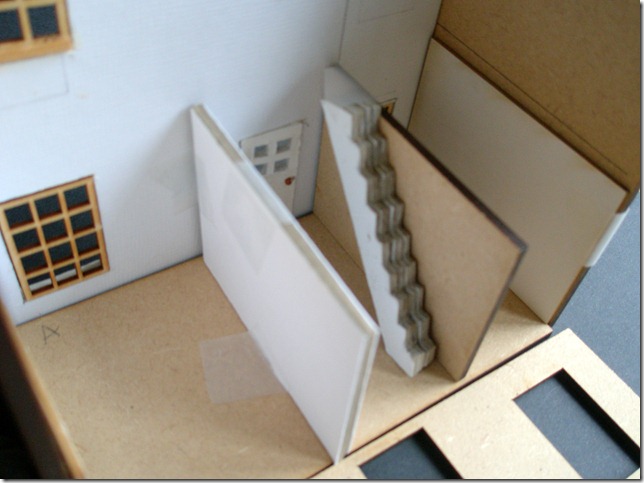
Cutting a hole for the stairwell in the upper floor depends on where the extra walls are going to be. For simplicity I have explained the addition of inside walls after I have explained how to make the stairs. In practice I did the first part of the stairs, propped them up against an inside wall, placed the other walls and drew round them on the floor and the ceiling so that I knew where the stairs had to come out.
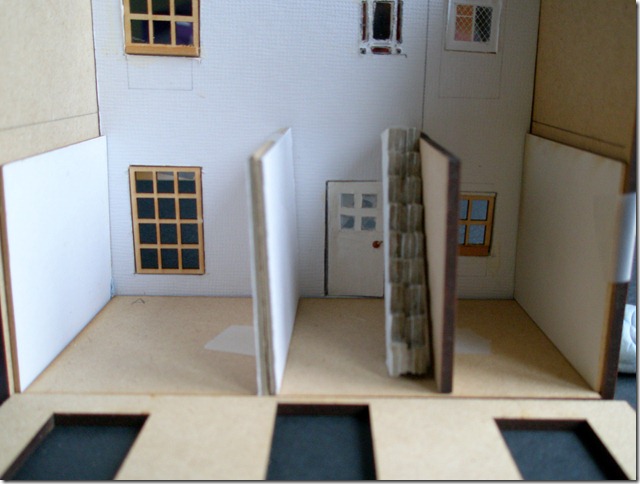
Check from the front for appearance as that is the way people will look at them. Make sure they are far enough away from the front door so that it looks as if there is room to come downstairs without walking into the wall.
You’ll see these photos again shortly; fiddle around with the placement of the stairs, when you’re happy draw them on the wall, stick the house together again omitting the back wall, check from the back and if the placement is satisfactory draw the stairwell on the upper floor.
Check again. The width must accommodate the width of the stairs plus a card hand rail. The length of the hole will be more than you think.
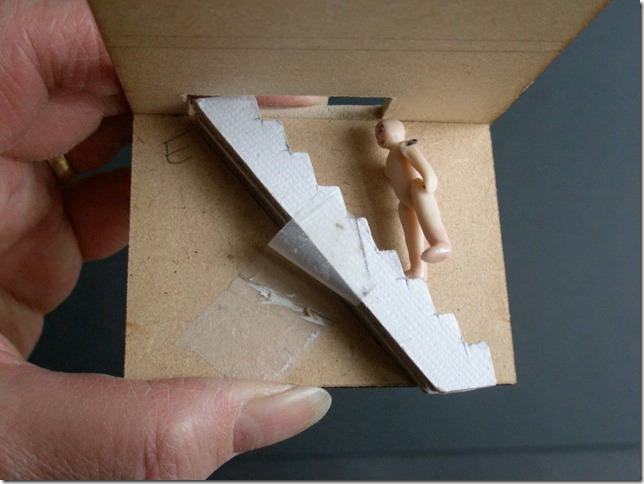
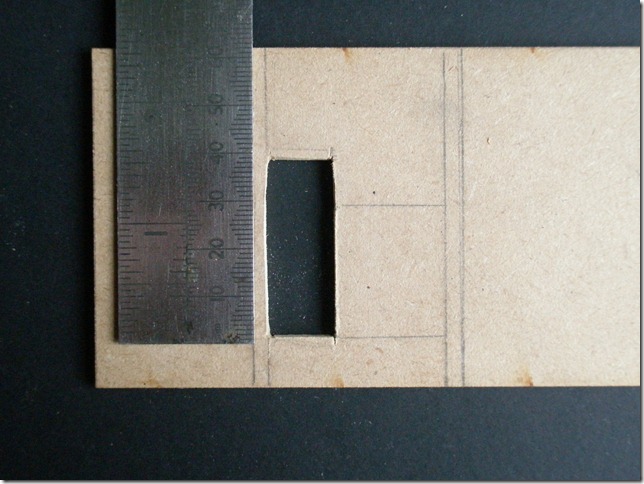
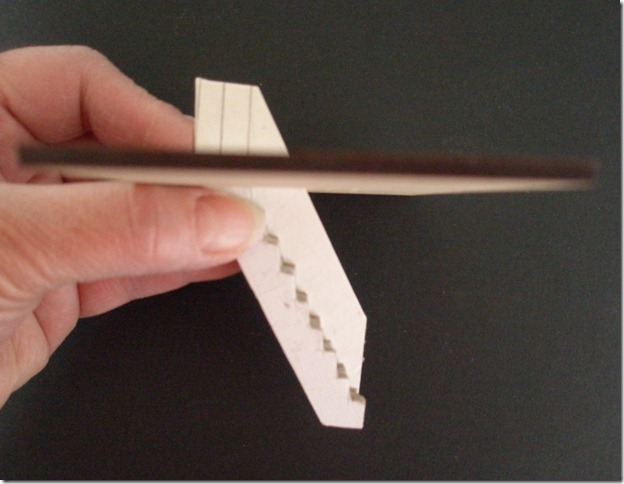
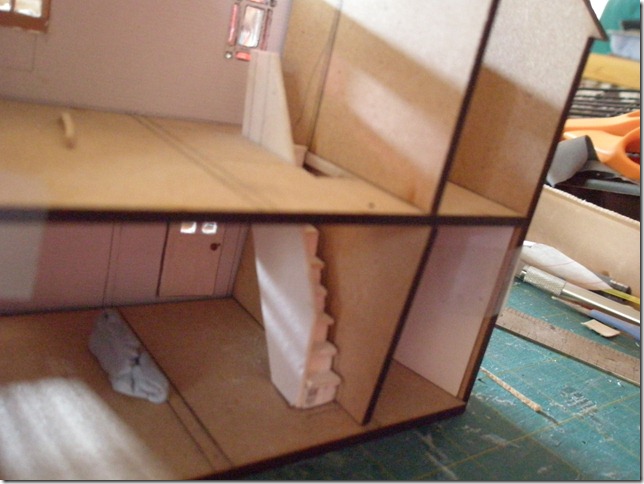
Cut a test hole for now, I drilled the corners with a hand drill and then joined the holes by scoring. Holding the stairs temporarily taped to the wall and the floor, check to see if a person could get up there without getting a headache.
The eventual size was surprisingly large, just as in reality.
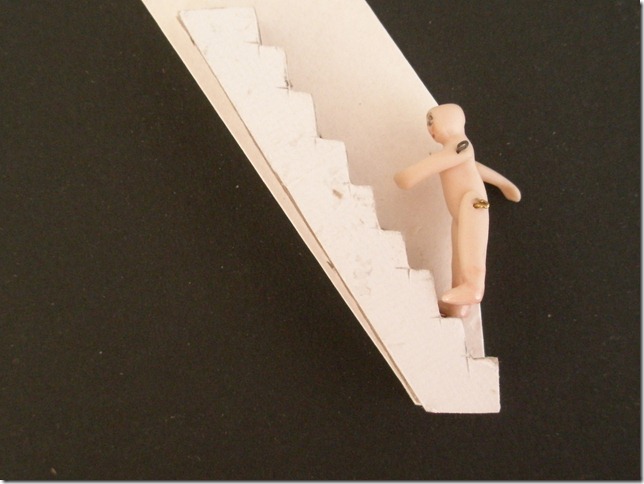
Now we need to cut a bannister. I’m having a solid card bannister; the doll will help me get the height.
This was my initial effort, having cut the floor end and the underneath to match the stairs, I kept cutting slices off the bannister until it looked right.
I poked it through the hole in the floor too. This is the advantage of smaller scales; if it’s wrong all you’re wasting is a bit of card. You can see where I’ve drawn some experimental ends to the top.
When you are happy with the proportions you need the other components.
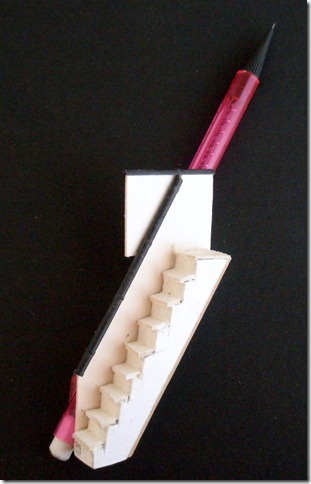
They are: 00 gauge railway guttering turned upside down with brackets sanded off as a handrail, the card bannister, a card liner for underneath, the stairs, the top step and the treads.
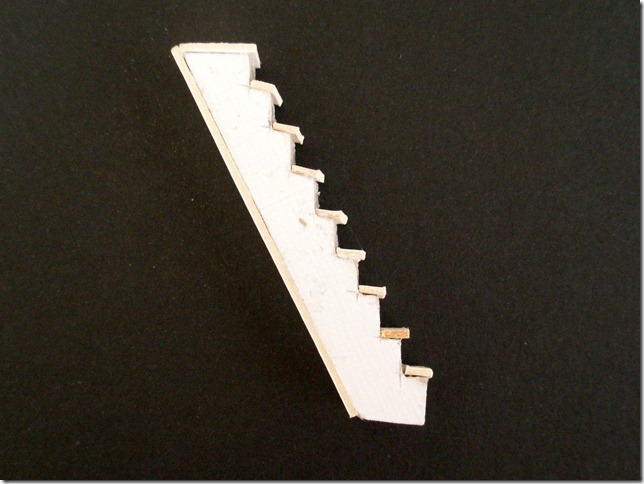
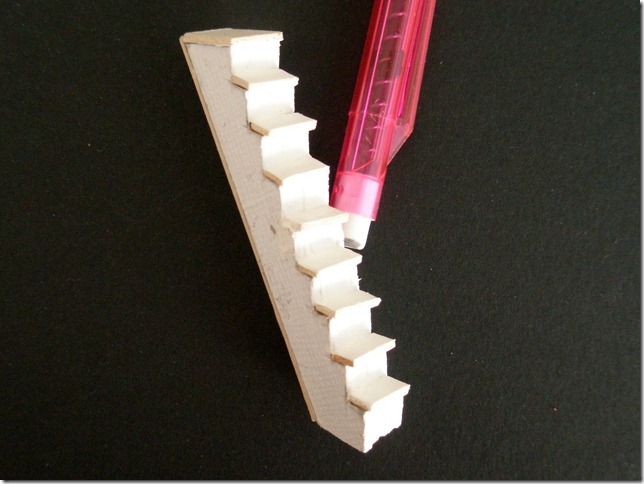
I glued the under liner and the treads on and then gave the risers, which were still showing the card layers, two thin coats of gesso. Gesso is thin liquid plaster used by artists but you can get a little hobby bottle quite cheaply which will last for ever in this scale, it will smooth surfaces, fill small holes and also smooth card for painting.
The treads make a difference,
and so does the gesso. Now we’re ready to do a bit of trial fitting. You cannot trial fit too often.
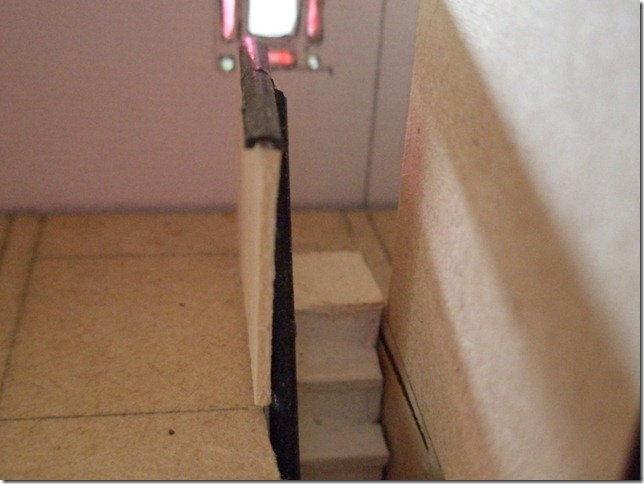
I’m fitting for two things at this stage; the height of the stairs, which must end exactly at the landing and an archway I’m going to cut out of the upstairs wall to get to a separate toilet and bathroom. The arch I’ll mark with a pencil to cut.
The height I’ll adjust by sanding the stair base, which now has the bannister glued on.
As always check from all views. When you are happy with the fit, add the hand rail and the return bannister for the top floor.
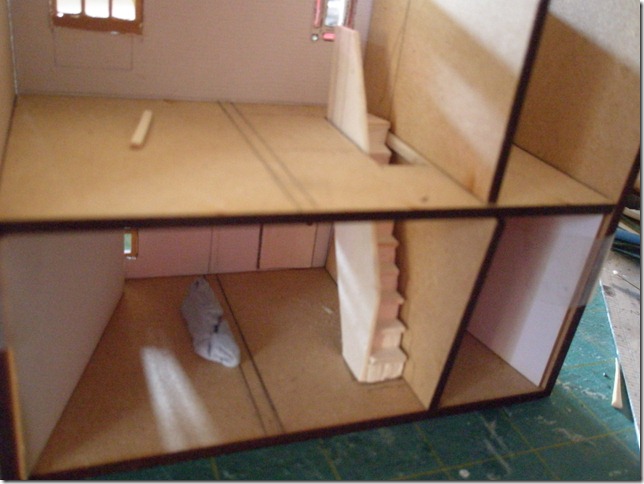
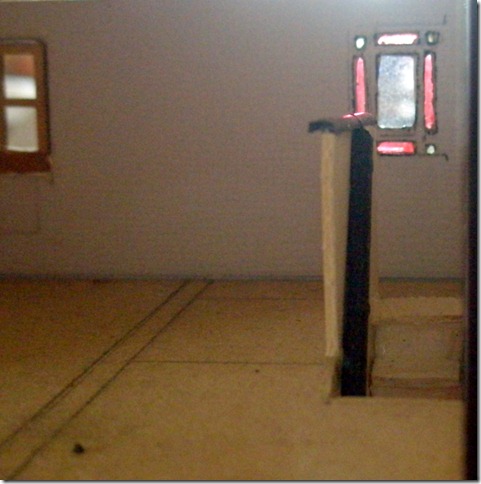
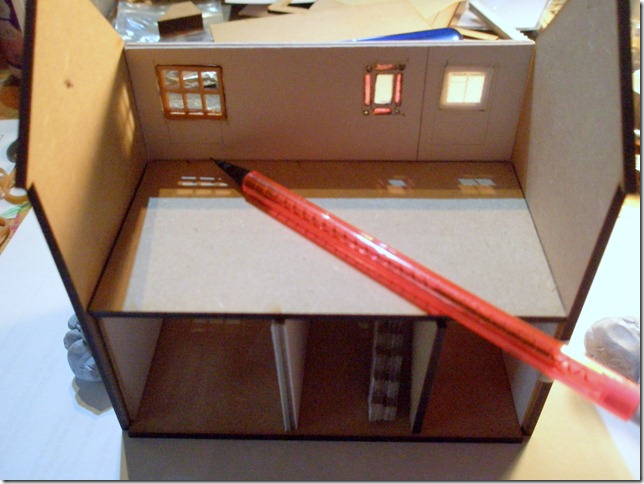
The return bannister is another card piece determined by eye and trial and error. The entire staircase assembly needs to be painted and have the carpet fitted. Then we’ll put it to one side until we’ve finished the whole of the ground floor. All we’ll need to do then is to lower it through the stairwell and glue it to the wall and the floor. There’s no harm now in having a quick preview.
As you can see I’ve cut out the bathroom arch. We could even shrink ourselves down and pretend to be looking around a building site.
Extra internal walls.
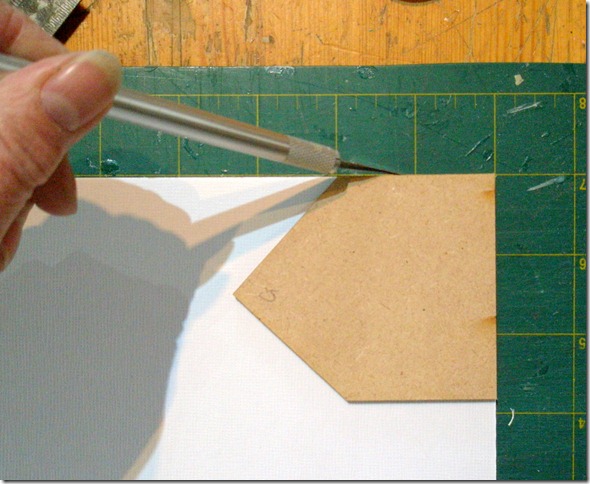
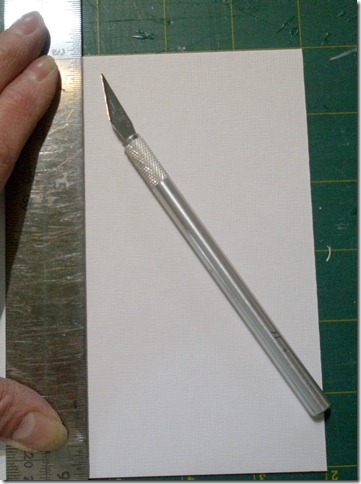
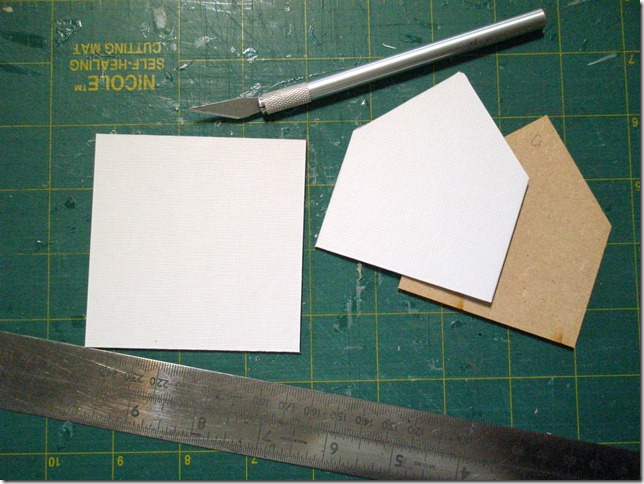
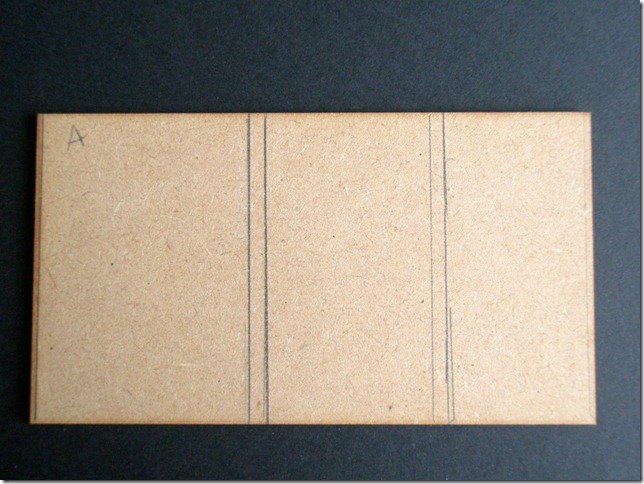
In the Petite Properties kit there are only two internal walls. These are laser cut MDF. I want at least two more walls front to back, so I can have a hallway and a separate lounge and kitchen. My artist’s painting boards are the same thickness when two are put together as the MDF. Thickness in a wall you see edge on is quite important. When you remove the front, different thicknesses of walls will be very apparent and spoil the illusion, so I’m going to cut two each in board for every extra internal wall I want. Place the MDF wall on top of the board you are going to cut, as exactly as you can. Using the lines on a self healing cutting mat as a positioning guide is helpful. When you think you’ve got it just line up the edges with something thin, your craft knife blade will do nicely to make sure they are exactly on top of each other.
We’d like to be as precise as possible because one of the problems with smaller scales is they emphasise any errors. Having lined up we’ll cut. Working with smaller pieces of quite strong board, force in small sizes is required, so do take care to keep your fingers out of the way. If you do decide to cut the MDF use a new blade in a strong craft knife to make numerous long cuts penetrating deeper with each cut. Unlike the song the first cut isn’t the deepest but it should be the most accurate, if true it will guide the blade for every subsequent cut.
Don’t try to cut it all at once from a huge piece of board for tricky shapes. Cut the main shape first and then the points that go up into the roof.
In smaller scales it is necessary to decorate the inside before you assemble the building because your giant hands just can’t get in there. Tweezers can, for placing furniture, but sharp metal tweezers and wet wallpaper are not a good combination. We’ll place the walls experimentally until we have them where we want them.
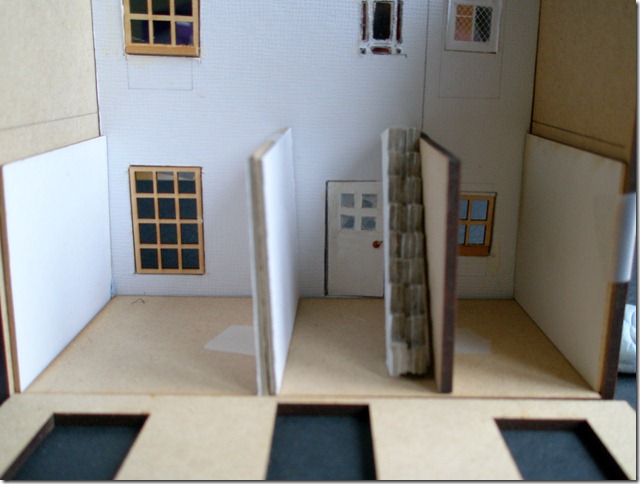
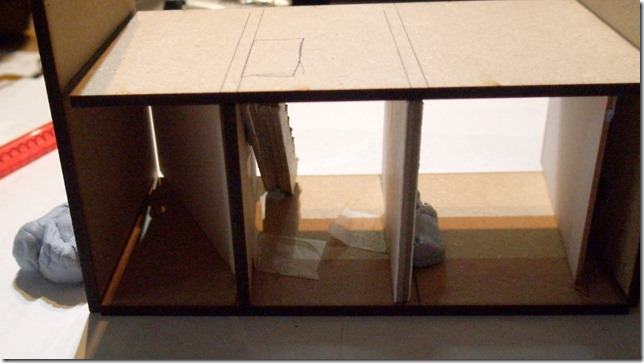
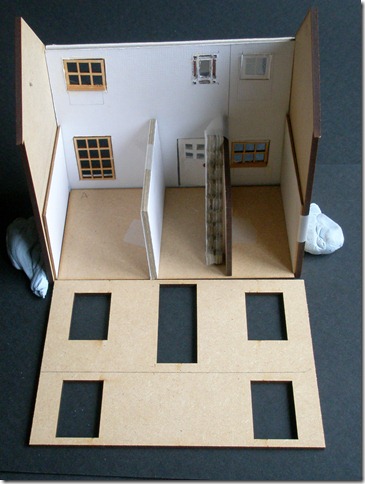
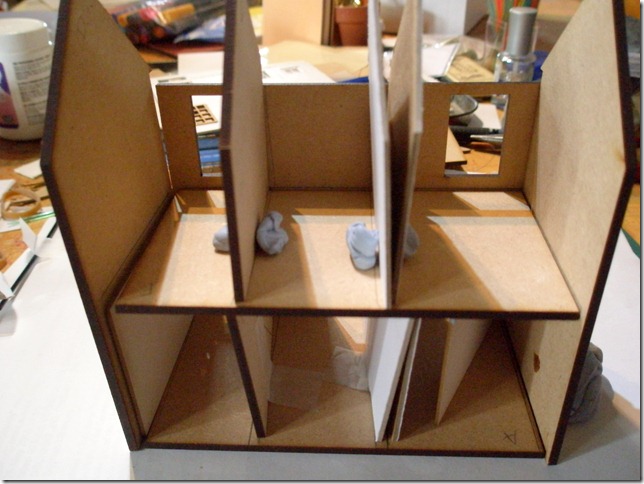
I have to align mine so that the front door would open into the hall. To do this I have laid the front flat, lined up with the walls, so I can see where the door will be. The front is not designed with an opening door and I’m not going to make the door open; on a removable wall an opening door would easily be broken in this scale but I want the wall to line up anyway so that it doesn’t appear through the glass of the door. As you can see, I have stuck everything temporarily with sticky tape and propped up the outside walls with lumps of Blu tack. I want to make sure my staircase is correctly positioned so that someone has room to step in the front door and so that I have room to put a door into the kitchen under it at the back.
When you are happy with the placements draw lightly on both sides of the walls. Also mark the position of the upper floor.
Then, when you think you know where everything should go take it apart and do some careful measuring to make the necessary corrections. Look how far out of true I was!
Treatments of a removable front elevation for a dolls’ house of any size are various. You can just paint the entire inside, or treat it as bit of art or leave it plain wood. As I always start with the dolls, I like to divide it and paper or paint each section of wall to match the room it is part of. When the front is closed the rooms will be complete. In 12th scale usually only the dolls know that this is so but in 48th scale you can pick up the entire house and look at the front wall through the back windows, in this case not making each room complete will spoil the illusion.
To begin you need to know where the walls will be and mark them on the removable front. Prop it all up with lumps of Blu tack and stick the walls together with sticky tape, omitting the kitbashed back wall. Now reach your giant hand in and draw a line either side of each wall.
At this point I realised I had room for another room!
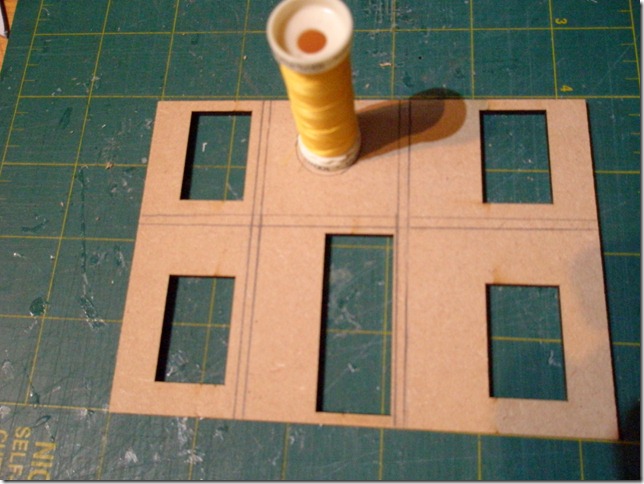
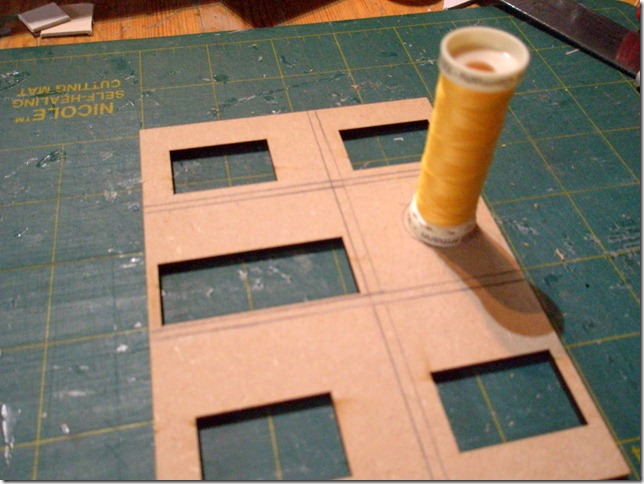
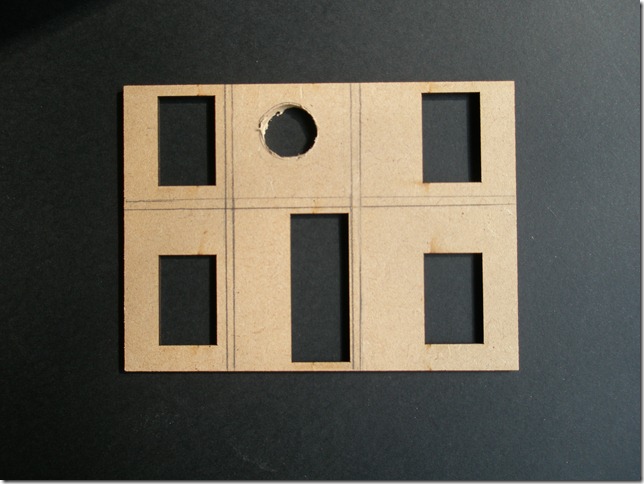
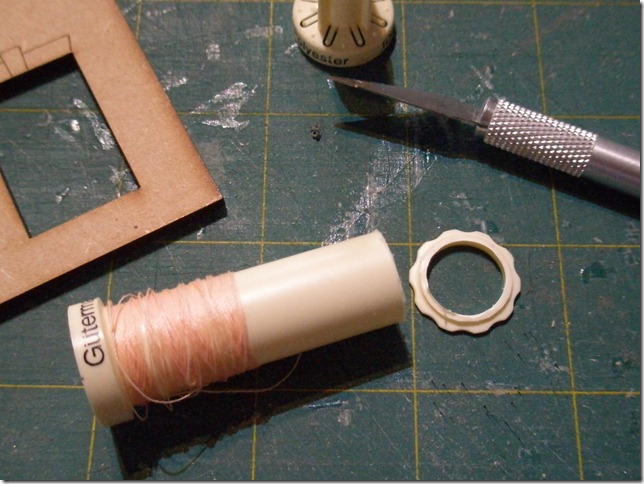
The stairs will occupy half the downstairs hall but if I steal a little off the stairwell I can fit another bedroom at the front. This is typical of so many houses from late Victorian onwards in Britain. My cousin’s bedroom was the one over the stairs at the front, he had a slope, boxed in, under his bed that was the top of the stair ceiling. My son had the little bedroom in two houses that was fitted in over the stairwell. So that’s what I’ll do. A room needs a window. Having already wrestled with MDF on the back wall I decided to drill the window out using a strong full size hand drill. First I marked the position of the window. I searched around for something round and finally got around to using a round cotton reel that was lying around and was round about the right size. I can’t believe I got around to throwing away a lot of empty cotton reels recently. It just goes to show that what goes around comes around, unless, of course, you threw it away last week.
Check it from all sides to make sure it is realistically positioned from the floor height and the ceiling.
I drilled it out with a huge hand drill. I didn’t use an electric drill; one slip in this size would destroy the front. When I had a circular hole I finished it off with my little Dremel sanding wheel and did the final sanding with a cut down emery board.
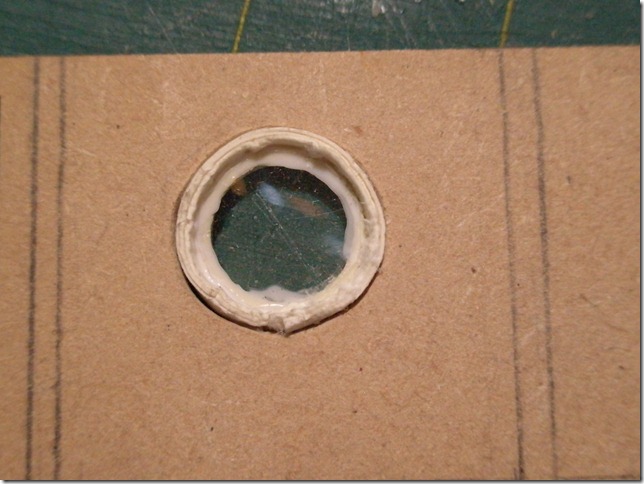
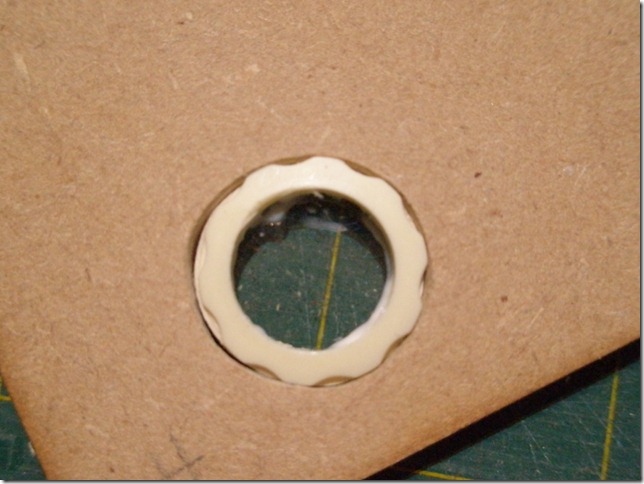
This would be a neat hole if it were full size but in miniature it needs tidying up. The end of the cotton reel has a decorative shape and will fit, so I cut it off.
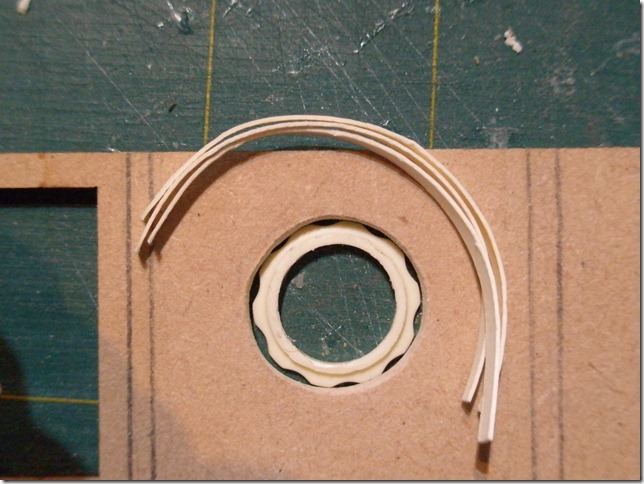
I hand sanded the inner projection on the plastic nearly flat. I cut three slips of thin card that could be curved to fit round the window with no lumps from bending.
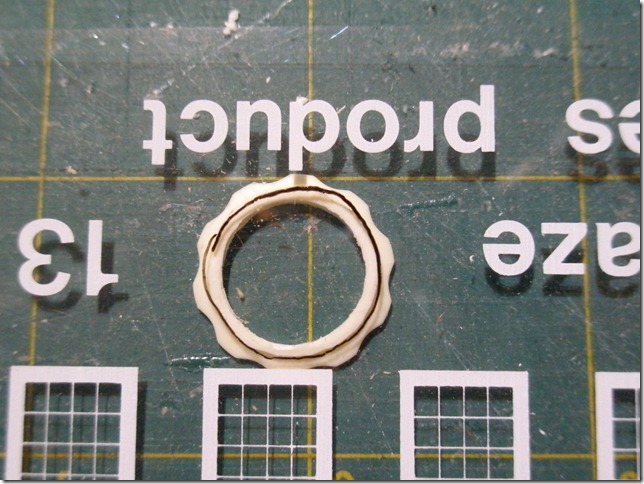
They will fill the gap for me. First I marked the size of acetate and cut it with scissors. I glued it on.
I laminated the three slips of card with glue and glued them to the projecting plastic of the window insert and to each other, using the new hole in the house front to hold them in place while the glue dries. The assembly is loose so that I can still remove it to paint the edges of the walls, as I did for the back elevation.
I still have to cure the fluffiness with a coat of paint. From the front it looks promising.
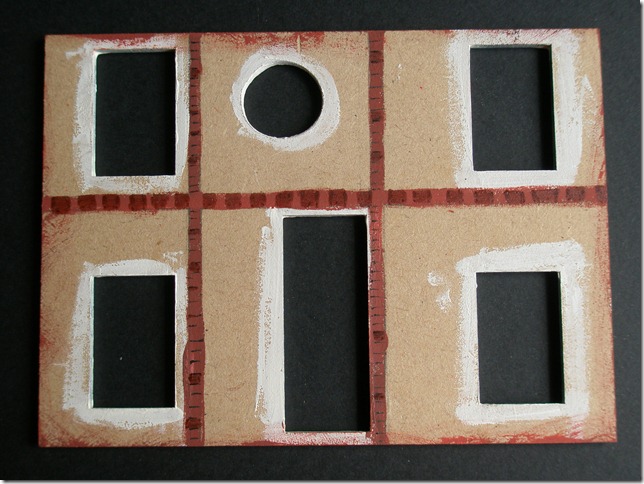
With a bit of fancy brickwork we’ll be able to look through the round window into a child’s bedroom.
Having drawn lines where the edges of the room walls will meet the front, I have painted the bricks and the ends of the joists. The edges will be neatened up by the cut edges of the wallpaper.
And I’ve prepped the window holes with paint.
Here’s a question: when is a door not a door?
The answer is not only when it’s ajar but also when it’s a fake. Next time we’ll be standing with our hands on our hips, saying: ooh! shut that door!
doordoordoordoordoordoordoordoordoorroundwindowdoordoordoordoordoordoordoordoordoor
JaneLaverick.com – up.

