Do not wait too long to rescue your sculpture from the mould. Ten minutes would be perfect. Gently work round with your fingers freeing the base, which you can see, from the embrace of the blue silicone. Sometimes, if your shape is close to a simple cone, sphere or cylinder, it will release with little effort and pop out.
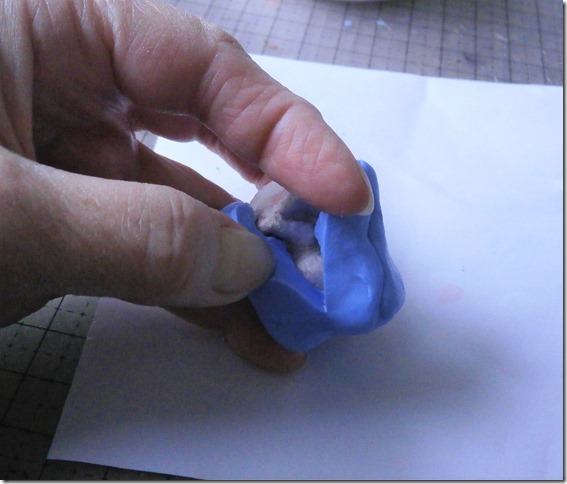
However, if you can feel resistance, as you try to ease the sculpture out, and it will not readily release, as here
and you know, because you did the sculpture, that the area sticking out, in this case the front paw, is the problem, then you need to make a release slit.
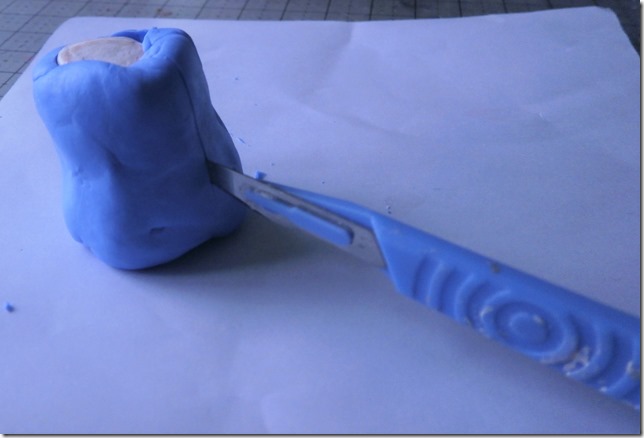
Make the slit, feeling gently with your knife tip but making one smooth downward cut from the base, which will release, to the part which is sticking. Cutting the silicone is easy and does not require force at all. Try to slide the knife rather than hack. This is a small item, keep your fingers out of the way of the knife. When you have made the cut, preferably not all the way down the side, ideally leaving what will become the standing base when the mould is turned over, intact, then
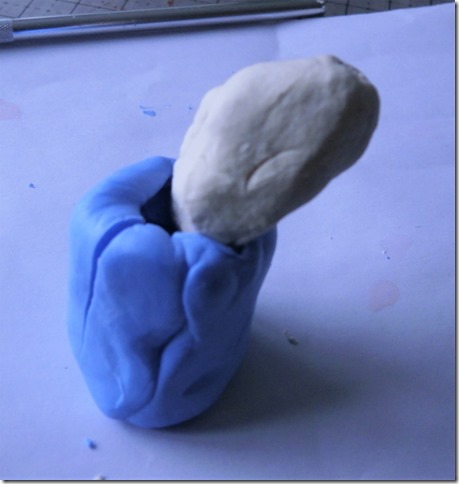
gently ease the trapped part out of the mould. This will work with gently persistence. Now, because this is silicone, you can instantly take an impression. That fast!
Make a small pointy shape of paper clay and insert it into the empty mould. You need to get the paper clay right down into all the spaces, for which some sort of blunt poking tool, such as a paintbrush handle will help. Keep adding paper clay and pushing it down until the mould is absolutely full to the top. Because you have made a slit in the mould you need to keep the slit closed as you push. You could do this with your other hand or a small rubber band.
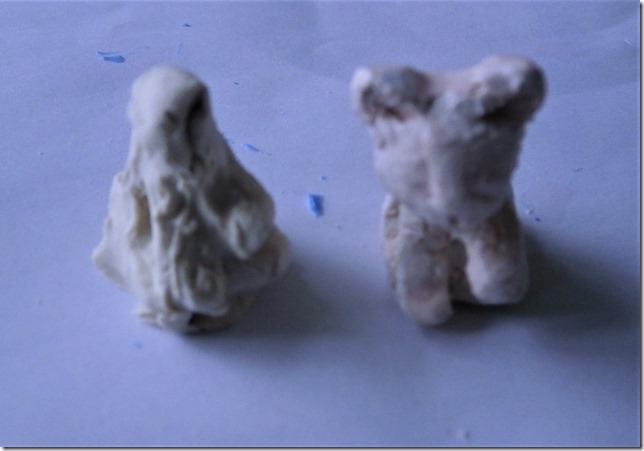
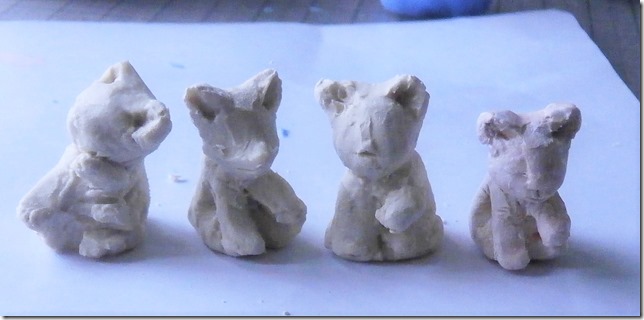
Keep going until the mould is full, then level it off and demould, easing the shape out of the mould. Even though you have just made this mould you are not the expert on how to use it. You will achieve that with practice. I had not put enough clay into the mould to fill the head space at the bottom of the mould. What came out of the mould was the shape on the left of this picture.
If this happens to you do not be alarmed, it simply means you have to learn your mould. Looking at the shape that came out, the interior of the mould and the original sculpture, I could see where I had to put extra clay into the mould. The second time I held the mould open with one hand while shoving bits of clay in with the other, held the mould closed whilst I carried on shoving, used the paintbrush handle, shoved some more, smoothed off and demoulded the perfect replica to my original, on the right of the picture.
Demoulding the shape is only the start. You can work on your demoulded sculpture as much as you like. We can turn the all-purpose animal into a little fox, with a longer muzzle, a cat with bigger ears by squashing them with tweezers, or a cat washing its face by raising one paw.
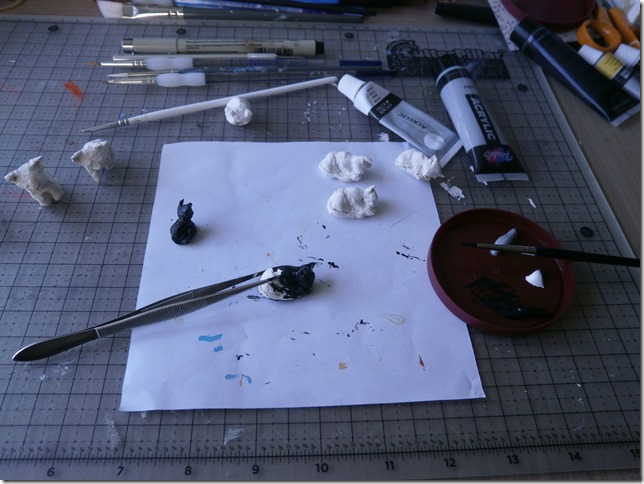
The animal on the right is the sculpture used to make the mould. As you can see, paper clay sculptures shrink slightly as they dry out. They will shrink more if you have had to wet the clay to make it workable. They will shrink differently with different brands of paper clay. Although the brand I am using to make the mould is Paperclay, you can use other brands, including the super light varieties, in the silicone mould you have made. Each brand will give slightly different results. While they are still newly demoulded you could cut them in half with a knife to stick on the front of a card, completely remodel the head, add a long tail, or a mane, or do what ever you wish to make every sculpture unique. Each one is your own original work of art. They are your copyright. To colour them, although they are paper and will colour by all the means you use to colour paper, including marker pens, pastel sticks and so on, I suggest acrylic paints because they are fast and leave a nice smooth surface. If, once the sculptures are bone dry and you are ready to paint them, you notice surface imperfections, these are more easily rectified with a couple of coats of acrylic paint than by other colouring mediums.
Acrylic paint for hobbies or artists is available everywhere. For small sculptures you only need a small blob at a time, pea sized is about right. It dries out so quickly I wouldn’t advise leaving it uncovered and going off for a cup of tea, it will have gone unsaveably solid by the time you return. It is also a trial to wash off nice palettes and can wreck your clean water colour palette with ease. For this reason I put tiny amounts in the lids of individual ice cream tubs, scrape off the residue and chuck the lids in the recycling.
Acrylic paint will stick to your fingers as well as any receptacle, so to paint small items, washable metal tweezers are your friend.
Of course, this method does mean you may be forced to eat many, many, quite a lot, of individual pots of ice cream.
But you know how it is, us sculptors, Donatello, Bernini, me, you, we just have to suffer for our art.
~~~~~~~~~~~~~~~~~~~~~~~~~~~~~~~~~~~~~~~~~~~
If you perpetrate the odd masterpiece, or even just manage something that looks like something and doesn’t fall over, I’d love to see a picture. Click on the link below.


